Canon Pixma Mp490 Software Download for Mac Updated
Canon Pixma Mp490 Software Download for Mac
Description
Uninstalling / reinstalling the PIXMA MP drivers on a Mac OS X computer.
Solution
Uninstalling and Reinstalling the MP Drivers
If the MP Navigator or the MP drivers are no longer required, or if they are not installed correctly, uninstall them. Reinstall the drivers if mistake messages occur or if the device does not operate correctly.
Notation:
- When multiple Catechism inkjet printer drivers or Canon scanner drivers such equally ScanGear MP or ScanGear CS are installed in the computer, perform the following to delete them ALL. (You cannot choose which ane to delete or which one to keep.) Install the printer driver with the CD-ROM prepackaged with the printer or download it from the Catechism website to reinstall.
- Login with a user name with the Calculator administrator account type to delete the MP drivers. Regarding Administrator users, please refer to the Mac OS X possessor's manual.
- Close all running applications - including antivirus software.
- Disconnect the USB cable at the printer.
- Open Applications, Utilities, and double-click the 'Printer Setup Utility' icon.**
**Leopard (10.v.x) , Snow Leopard (10.6.x)users, click here.
Notation: Printer Setup Utility varies depending on the Mac OS X version.
When your Mac OS 10 version is older than Ver. x.3.10, double-click Print Middle.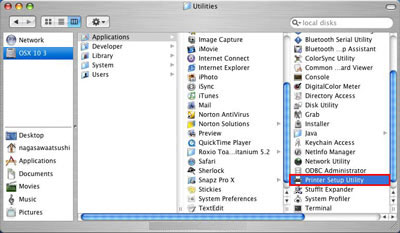
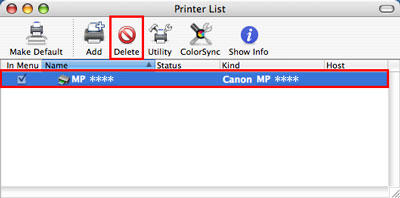
* The prototype is an instance using Mac OS X Ver. 10.iii. - In the Printer Listing dialog, select all the printers added to the Printer List and then click 'Delete'.
Note: Select all the printers registered in the Printer List. Even if the specific model name is not deleted in this step, it will not be available in the next step.
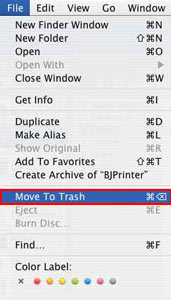
- Open Library, Printers, Canon, and BJPrinter.
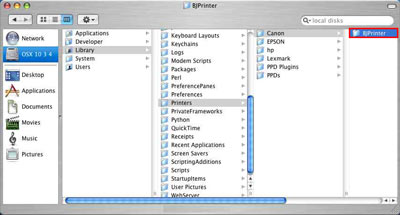
- In the File bill of fare, select 'Move To Trash'.
Note: All the other installed Canon printer drivers volition be deleted.
- Open the Library binder, and the CFM Support folder and move "BJExtDDI.cfm" to the trash.
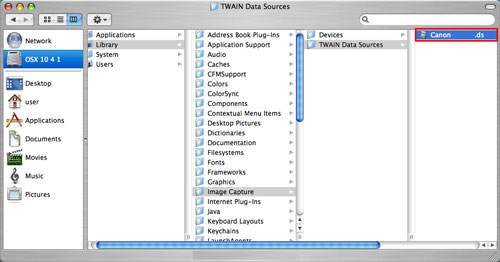
- Similarly, open Library, Paradigm Capture, and TWAIN Information Sources, and move Canon MPXXX.ds to the trash.
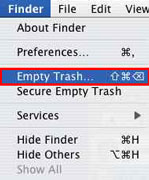
- In the Finder menu, select 'Empty Trash' to delete them.
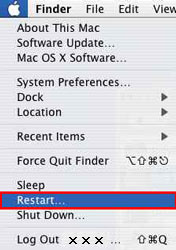
- In the Apple carte, click 'Restart'.
- Reinstall the drivers .
Notation: Screenshots for Mac Os X Ver. 10.3.x are used in the following procedures.
- Connect the printer to the computer with the USB cable and confirm that the printer is powered on.
- Plough on the computer to kickoff Mac OS X.
- Login as an Administrator of the computer if shared by multiple users (accounts) on Mac Bone X.
- Disable or shut whatsoever antivirus and firewall software that may preclude the installation from completing properly.
- Insert the setup CD-ROM into the CD-ROM tray.
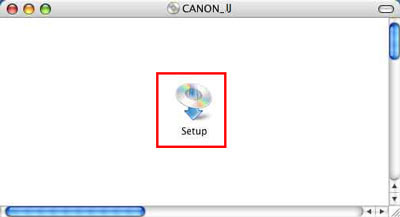
NOTE: If the folder in the CD-ROM does non open automatically, double-click the 'CANON IJ' icon on the desktop.
- Double-click the 'Setup' icon.
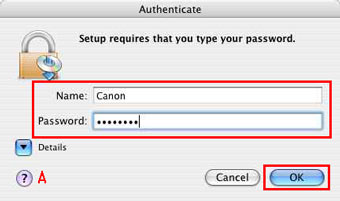
- When the following window is displayed, enter the administrator name and the countersign, and click 'OK'.
Notation: When you exercise non know the administrator name and the password, click the 'A' icon.
- Select the language yous are using.
Note: This window will not be displayed in some areas.
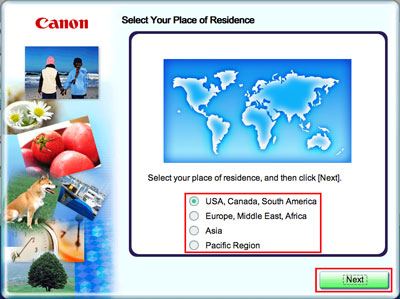
- Select your place of residence and click 'Next'.
Note: This window will not exist displayed in some areas.
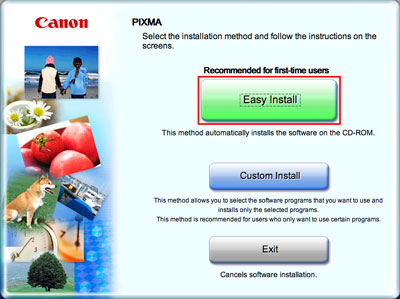
Note: The printer drivers tin can be installed using 'Easy Install' or 'Custom Install'.
- Click the desired method of installation.
Note: 'Easy Install' enables the automatic installation of the MP drivers, application software, and the on-screen transmission. 'Custom Install' allows the user cull whether or non to install the MP Drivers, application software and the on-screen manual individually.The post-obit instructions apply to the 'Easy Install' option.
- Click 'Easy Install'.
- Click 'Install'.
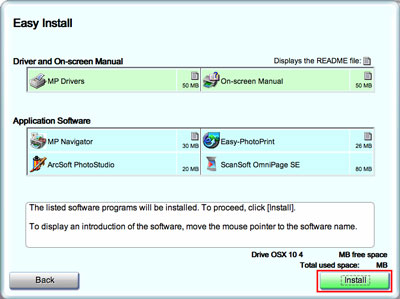
*Display may vary depending on the printer. - Read the License Agreement carefully and if you concord, click 'Yes'. (The installation will begin automatically.)
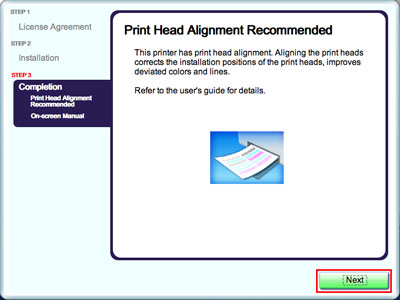
- When the Print Head Alignment window is displayed, click 'Next'.
Note: The window will not exist displayed depending on the printer model.
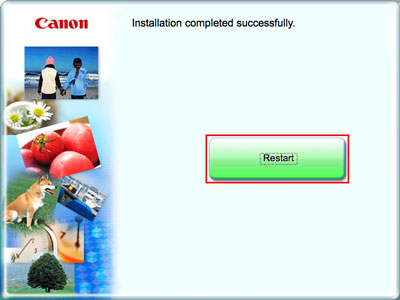
- Click 'Restart'.
Annotation: If the installation fails before fully completing, please install the MP drivers again. In some circumstances uninstallation may be required before attempting to install again.
Deleting the Printer from the Printer List (Mac Bone 10 ver 10.v.x / 10.6.x)
1.In the Apple tree menu, open Arrangement Preferences.
2. Open up Print and Fax.
*Bone X x.5.x screen shots shown below
3. Be sure that the printer to be deleted is highlighted in the Printers section.
iv. Click the Minus (-) sign, then click 'OK' on the confirmation message. The printer is deleted.
5. Return to Pace 5 of uninstall instructions , above .
Canon Pixma Mp490 Software Download for Mac
Posted by: marzanojoyalmak.blogspot.com
Post a Comment for "Canon Pixma Mp490 Software Download for Mac Updated"